
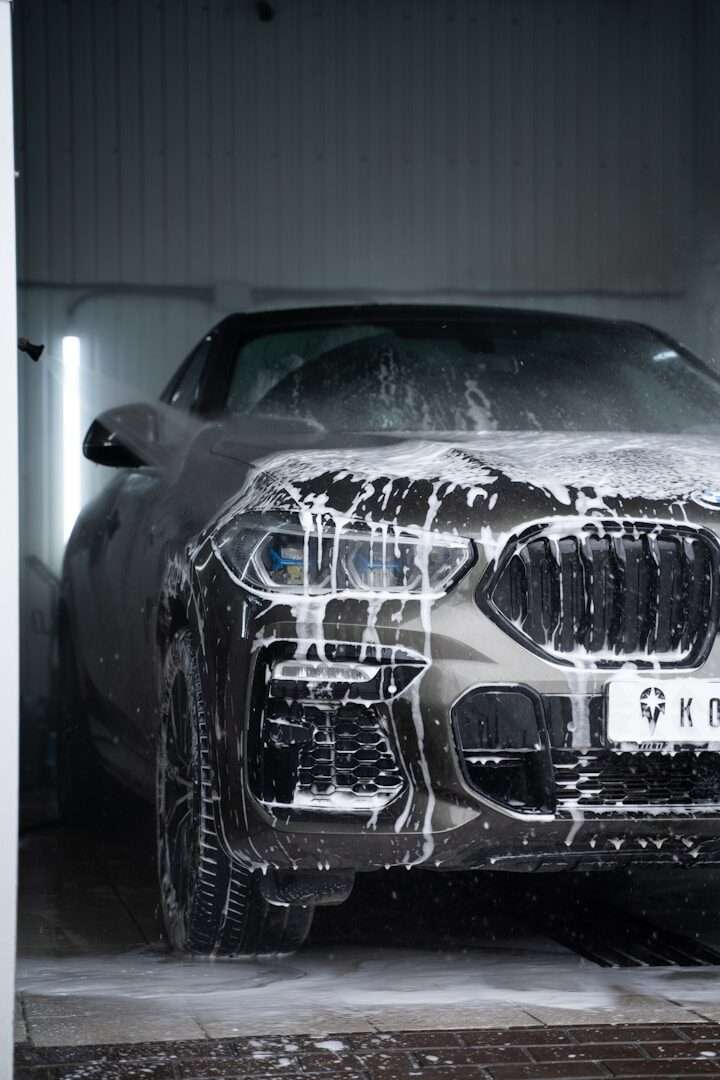
Washing your car feels like the most harmless thing you can do for it, but the way most people go about it is quietly grinding fine scratches into the paint every single time. Those hazy swirl marks you notice under direct sunlight or a streetlight aren’t “just how older cars look” — they’re wash-induced damage, and they come almost entirely from technique and tools, not from the car simply aging. The good news is that fixing your method costs almost nothing.
10 Best Safety Items for Your Car
10 Automotive Gadgets Worth Checking Out
What Swirl Marks Actually Are
Swirl marks are thousands of tiny scratches in the clear coat, the thin protective layer sitting over your paint. Each one is microscopic, but together they scatter light and give the surface that dull, cobwebbed look. The overwhelming cause is dragging dirt across the paint while washing or drying — every grain of grit you grind around the panel acts like sandpaper, and the worst offenders are the very tools many people reach for first.
The Tools That Wreck Your Paint
Automatic tunnel car washes with spinning brushes are notorious for inflicting swirls, because those brushes carry grit from hundreds of cars before yours. The old household sponge is nearly as bad, since it holds dirt against the surface instead of releasing it. Even a single bucket of water becomes a problem fast: once you’ve dunked a dirty mitt into it, you’re washing with gritty water for the rest of the job. The tool matters far less than whether it’s trapping or releasing dirt.
The Two-Bucket Method
The single biggest upgrade is the two-bucket method. One bucket holds your soapy wash solution, and the second holds clean rinse water. Load the mitt with suds from the wash bucket, clean a section, then rinse the mitt in the rinse bucket before reloading with soap. This keeps the grit you just lifted off the car out of your clean solution. Adding a grit guard at the bottom of each bucket traps debris so it can’t get stirred back up. It sounds fussy, but it’s the difference between cleaning and scratching.
Drying Is Where People Slip Up
Plenty of people wash carefully and then undo all of it at the drying stage. Dragging a rough bath towel across the paint, or wiping in tight circles, presses any remaining particles into the clear coat. Use a large, plush microfiber drying towel and blot or pull it gently in straight lines rather than scrubbing. Better yet, rinse with a free-flowing hose and let most of the water sheet off before you touch anything. Wash in the shade, too, since drying in direct sun bakes water spots into the finish.
Build a Paint-Safe Routine
Put it together and the routine is simple: rinse the car first to knock off loose grit, wash top to bottom with two buckets and a clean microfiber mitt, rinse often, and dry gently with plush microfiber in straight lines. Skip the tunnel brushes and the kitchen sponge entirely. Do this and your clear coat stays glassy for years instead of going hazy in months.
While you’re caring for the exterior, it’s worth making sure the mechanical side keeps up too: keep your tires rotated, learn what a brake shake means, and know how to jump-start safely. A clean car that runs right is the whole package.